Painting is a good way to make things creative, aesthetic, new, and fresh. But can paint be used for wood furniture to give them a fresh and aesthetic look? If you are thinking about starting the painting right away on the wood furniture without following standard painting steps, the last thing you want is to ruin the paint, money, and furniture. Another disadvantage will be your hard work will be wasted.
So how to paint wood furniture and an item of wood furniture to make it worth trying? Painting wood furniture is worth trying if you select the suitable paint for the wood and follow the standard protocol while painting the furniture!
In this post, we have covered: how to paint an item of wood furniture like table paint, the materials and tools you will need in the painting princess, the steps and directions to follow while painting the wood furniture, and more.
Materials and Tools for Painting Wood Furniture
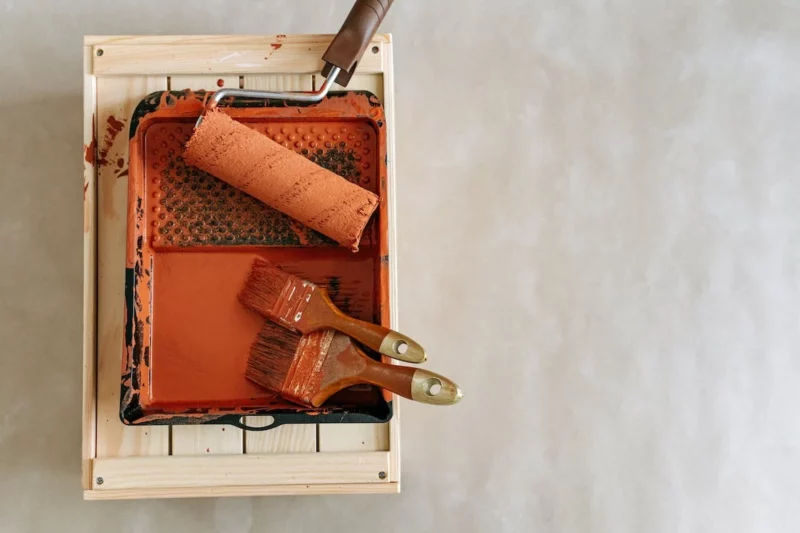
Before you start the wood furniture painting, you will need some paint-related material, such as anti-vibrational gloves to save your hands, drop cloth to cover the floor, damp or tack cloth to wipe the furniture, oil-based paint, oil-based primer, spray-on oil clear sealant, spray-on oil primer to apply on wood furniture, and plastic bags for storage of drawers and hardware.
You will also need some handy and good-quality tools to utilize the material. Such as a nylon hair bristle brush or a high-quality paintbrush to apply the paint, primer, and sealer. You will also need Palm Sander and Palm Pads to remove the wood grains, a Scraper tool to remove the old paint, Sandpaper to remove the remaining point spots, and Screwdriver to detach the hardware.
Easy DIY Steps to Paint Wood Furniture
1. Paint Preparation for Furniture
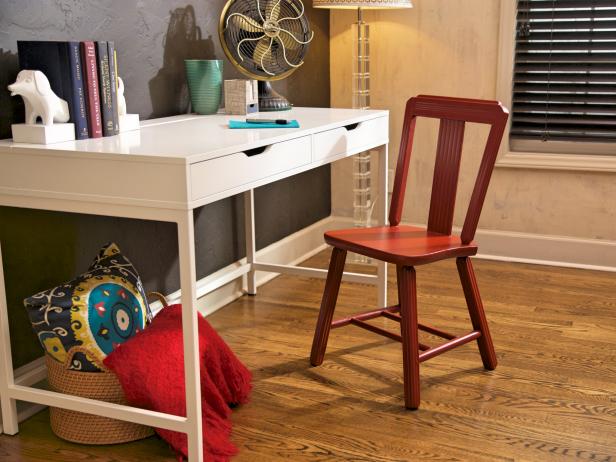
Start by making the furniture simple and alone. For instance, you want to paint a table or a chair. So remove drawers and hardware like pulls, latches, and knobs of the table with the help of a screwdriver and store them in a plastic bag, so you can easily find them later. If there are drawers in the wooden furniture, like on a table, remove them before you start the painting.
Once you are done with the hardware separation from wooden furniture, the next is covering the floor to avoid paint stains because of the chair or table paint.
So put down a drape cloth piece or an old cloth piece that can cover the floor and surrounding area of wooden furniture. The drape cloth piece should be strong enough to hold and store the Paint stains above or in itself so that you don’t have to put more effort while cleaning the floor.
2. Remove Loose Old Paint from Furniture
The first step of removing the older paint is a paint-type examination. If the chair or table paint is lead paint, you need a separate paint removal kit for this particular purpose. Put on the gloves, pick up the special lead kit, and start removing lead paint.
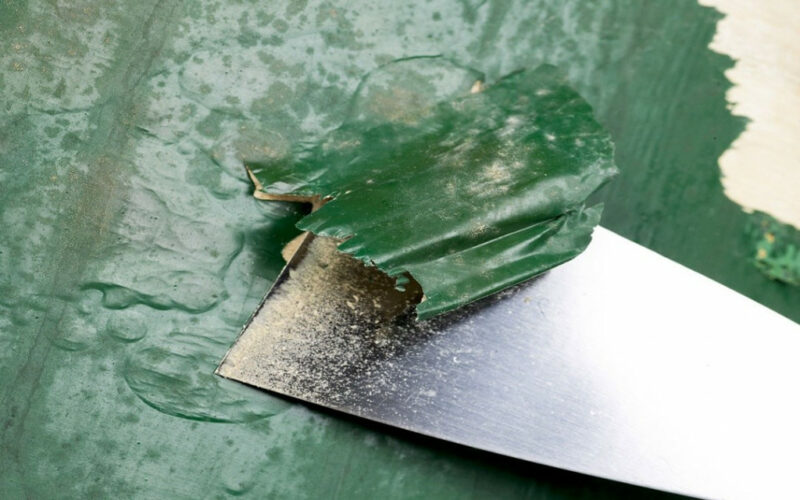
If the lead paint test report is negative, the paint is not lead. In this case, you can proceed with it by following the steps of the removal of the table paint. You can remove the Paint with a scrapper and sandpaper by stripping and rubbing over the wood furniture surface. Pick up your gloves so wooden elements and scraps don’t hurt your nails and fingers.
Use a scraper to remove the stubborn table. Paint marks by keeping it straight and parallel with the furniture and applying sufficient pressure that offers enough threshold to remove the paint layer and doesn’t affect the furniture wood.
3. Sand and Cleaning
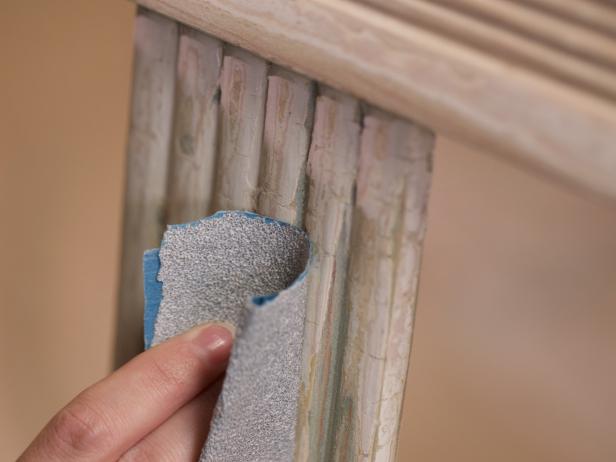
Pick up the palm sander piece, and rub it on the wooden furniture surface to remove the leftover particles of the table paint. Keep doing it until the surface of wooden furniture turns out to be smooth. Pick up the finer sandpaper to make the wood furniture layer smoother. While rubbing it on the surface, move the sandpaper in the wood grain direction.
If some curves or designs need to be reached to the depth of the wooden surface, use the hand sand into the crevices. Once you complete the sanding process, the next thing you have to do is clean the furniture. Take a wet or tack cloth piece, wipe down the sanding leftovers, and clean the wooden furniture. If the surface is not ready to paint, wipe it again with a clean cloth so the paint sits properly on the wooden furniture.
4. Apply the Primer on Wood
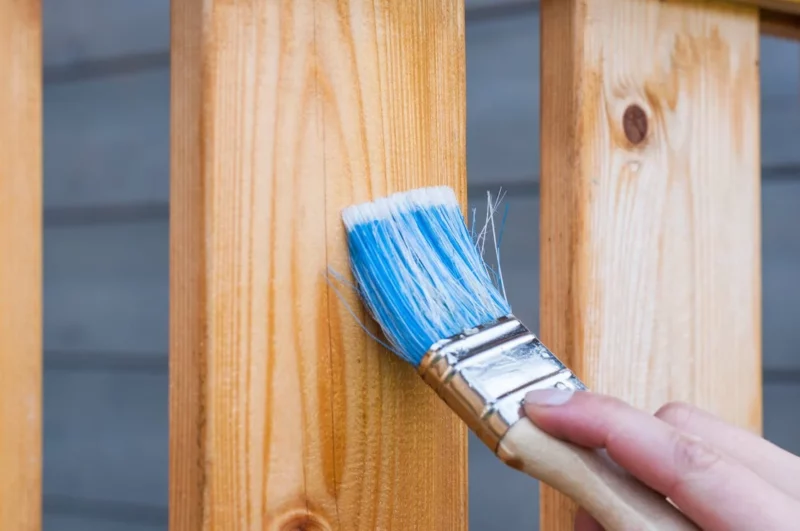
Before you start applying the primer, let the surface of the wooden furniture dry on its own. Pick a suitable primer for your furniture, making it durable so the table paint lasts longer. The purpose of the primer is to stick to the wooden surface to hold the Paint tighter. Apply the primer with a thicker brush on the furniture surface and let it dry.
To make the adhesive strong, apply one more primer coating. If you have spray-on primer, use it to apply the primer after the first coating so that it reaches the crevices too. Avoid over-coating or drips of the primer. If you see a dripping of paint, pick up a piece of sandpaper and remove the extra primer.
5. Paint the Furniture
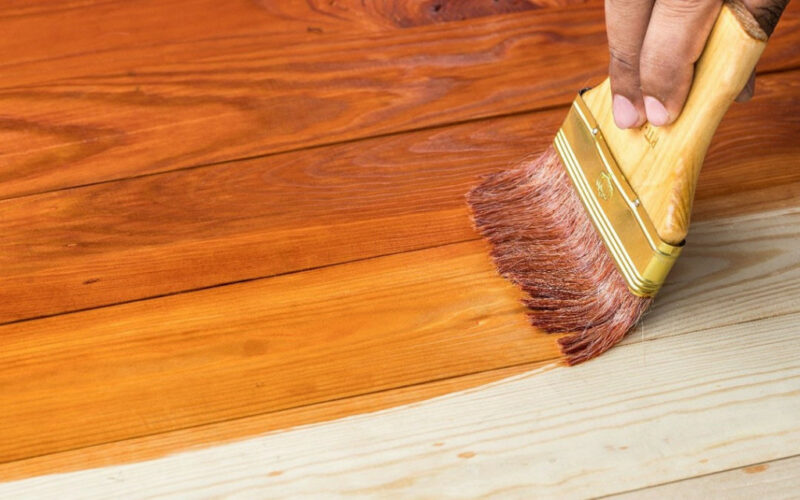
Before painting, you will need the right paint suitable for wooden furniture. Oil-based Paint for wood furniture is widely used for this purpose. Prepare the paint when the primer is getting dry. Pour some paint into the paint tray and try for the usage purpose from the Paint bucket or can. Take up the paintbrush, and dip it slightly into the Paint tray to start applying. Avoid taking too much paint by wiping it off with the corner of the paint tray. Start painting with the thin coating layer of Paint on the furniture. Keep the strokes up and down or back and forth during the chair or table painting.
Don’t make the paint gloppy or bubbling while painting it on the wooden surface, or the paint will start peeling it soon. If, incidentally, you get the paint dripping, drag a dry brush over it so it will break the dripping flow of paint. Use the back-and-forth strokes of a paintbrush to smudge the paint in the nearby areas of the wooden surfaces.
Cover the entire furniture’s outer surfaces with this method, and let it dry. Paint another coating for better durability by following the above procedure, and wait until it becomes dry.
6. Clear Coat and Sealing on Chair or Table Paint
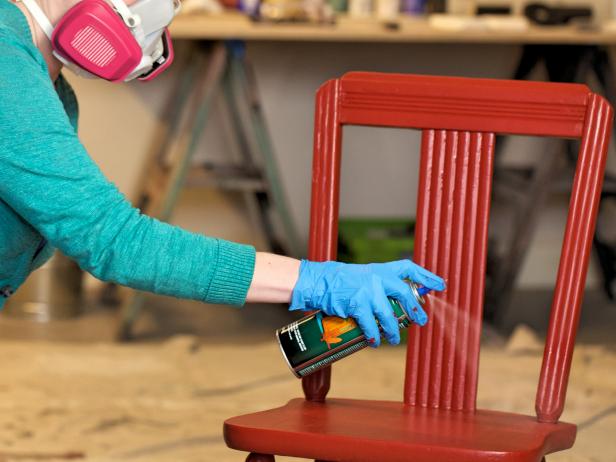
Clear coating provides the finishing to the chair or table painting surface, hardens the paint, and works like a protective coating layer for the paint. For better durability, you can seal the table painted with a clear coating of sealing like Polyurethane, oil, or wax finishing paint. You can skip this step as it is optional and for better durability and protectiveness of paint. In short, it waterproofs your wooden furniture surface.
Open the windows or ventilation while applying the sealing so the sealing gets a suitable environment to stick to the table surface or furniture. Let the sealing dry. If you have a spray-on sealing, spray it on the furniture by keeping the clear coating layer thinner. Spray sealing will reach the deeper areas better than the sealing or clear coating applied by a brush. Use protective wear to cover the nose, mouth, and eyes while using the spray for sealing.
7. Let the Paint Dry
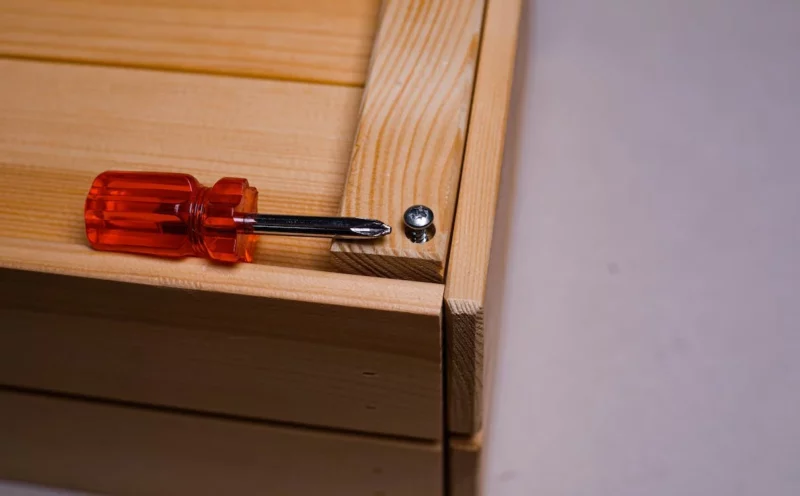
Let the furniture paint dry properly. Don’t mess with the paint or sealer when it is wet, or else all the hard work will get ruined. If you detach the drawers and hardware, pick them up, and it’s now their turn to paint.
Follow the above-mentioned steps to paint. Apply the primer coating, and let it dry. Follow the painting procedures and sealing steps to get the table painting work done. Let it dry completely. Once the drawers’ paint and wooden furniture are dry, you must put them all together.
Pick up a plastic bag and screwdriver to attach the knobs or latches back so that the furniture, like a table or chair or furniture, becomes one piece again.
Mistakes to Avoid While Painting the Wood
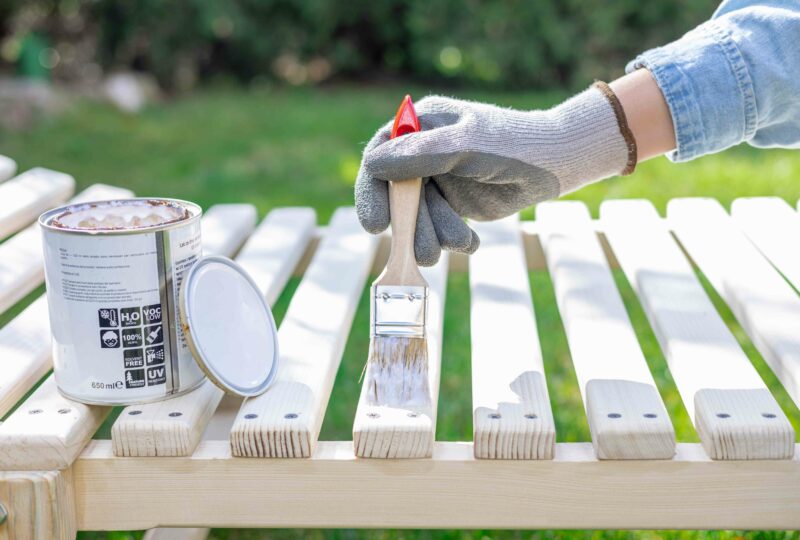
1. Rushing for a Chair or Table Paint
If you will rush or do the painting, the last thing you want is table painting or furniture painting ruined, wasted efforts, and money. So drag the brushes slowly, and let the Paint coatings dry before proceeding with the next steps.
2. Thick Table Paint Coatings
If you think that a thick coating of paint provides better protection and durability, please change your mind about this perspective, you will end up wasting the paint, and the durability will be less. Always start with thin paint-coating layers. Wait for the paint coatings to dry completely before starting the other painting layer. Don’t apply more than three thin paint coat layers for better durability.
3. Direct Table Paint
This is also a common mistake many people make when they start painting when they are not professional or doing it for the first or second time. Remove the old paint or stains with the help of scrapers. Clean the wooden surface with sandpaper, and wipe it off properly. Only then think about the next steps.
4. No Primer and Sealer
If you want better durability, applying the primer is a must. It prevents the wooden surfaces and the paint layer and works as an adhesive. Apply at least two coatings of primer. And let them dry after each coating. Only then proceed with a painting by following the steps as described above.
Tips and Tricks for Painting Wood
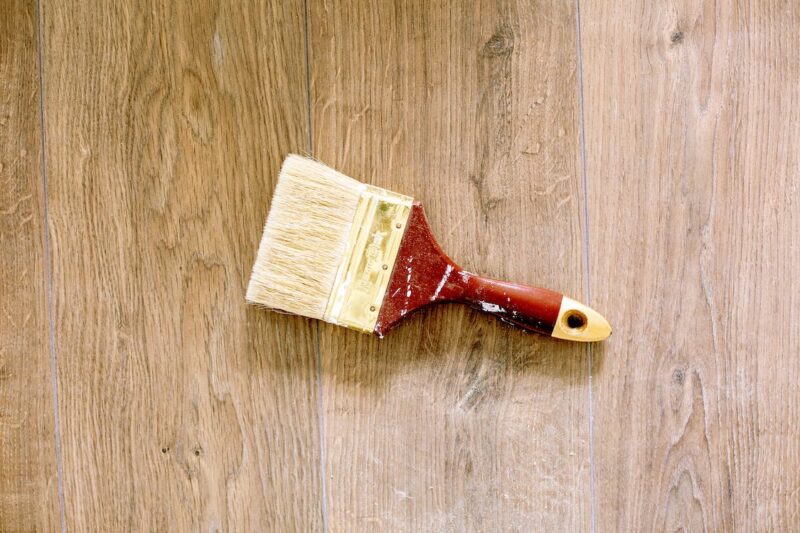
- Pick up the right painting brush suitable for wooden furniture.
- If the paint is milky and starts flowing as of its thin nature, use a synthetic paintbrush so that the paintbrush hairs don’t absorb much water. You can easily paint a good coating layer with this synthetic paintbrush.
- For thicker paints like chalk paints, use a high-quality brush that holds more paint. It will help you to avoid brush marks after the paint dries on the wood furniture.
- Choose the right type of paint suitable for wood furniture, like chalk paint, milk paint, mineral paint, and latex, according to the style you want, oil-based, water-based, or wax-based type.
- While painting, avoid bleeding, dripping, and bubbling at any cost.
- Pick up a primer suitable for the paint type you selected for the paint. For instance, use an oil-based primer for the oil-based paint. Pick up the latex primer if the paint you have chosen is latex paint.
- Prime the wooden furniture surfaces to avoid unnecessary bloating or bleeding of paint.
- Use Oil-based Primer for smooth chair or table paint flow. And you also have to select the right oil-based paint for it. While applying the oil-based primer, keep the windows and ventilation open as it has a strong odor.
- While painting, pick up the paint in a high-quality paintbrush and use the top and bottom approach while painting to avoid bleeding and dripping.
- Use the dragging technique if incidentally primer or paint is dripping in a hurry. It will break the paint flow, and you can smudge it in the near-around areas.
Final Thoughts
Everybody wants to paint their wood furniture to give it a fresh look and make it aesthetic with a new paint color. And selecting the suitable paint for wood, primer, and sealer according to the paint type you have chosen, following the standard procedure and directions as deceived above is a way to get there.
This post showed you what you need before painting the wood furniture, the things and materials you will need before starting the painting job, how to prepare for the painting, remove the old chair or table paint, do the cleaning, use the primer, and start painting.
This post has also covered what to do for better durability and the mistakes you must avoid while doing the Paint on wood furniture or table Paint for proper finishing. This post has also covered additional tips and tricks to help you paint like a pro.
Frequently Asked Questions
What is the Best Paint for Wooden Furniture?
The best paint for wooden furniture depends on the wooden piece of a table, chair, or cupboard, along with the aesthetic vibes you need. For the trending paint, you can use matte finishes. Matte provides a smooth texture and soft appearance to your furniture. If you are looking for a polished surface, go for the eggshell or satin paint selection. It will be easier to clean the furniture if the surface is more polished. For an elegant and eclectic appearance, use the high glossy finishing paint. For a luxurious paint finish, use chalk paint.
What Will Happen if I Don’t Sand the Wood Furniture Before Painting?
If you do not sand the wood furniture before painting, the paint will not stick to the wood surface properly. The smooth finishing will become impossible, and the painting will come with the natural flaws of bubbling, bloating, and leaving unnecessary paint stains and marks on the wood furniture. The paint will start peeling off soon after it gets dry. And all this will result in a waste of paint, money, time, and effort.


