Here's how I did this little (ahem, not very little) project. Step by step. Just in case it sounds so fun or looks so good that you might want to try it. Ha ha!
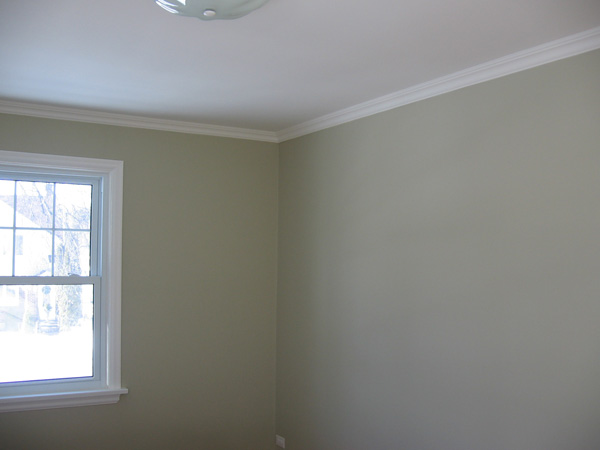
Before I started this project, I had already prepped and painted the room in Camouflage by Benjamin Moore. For the stripes I chose the colour that was slightly lighter on the paint chip thing (Old Prairie).

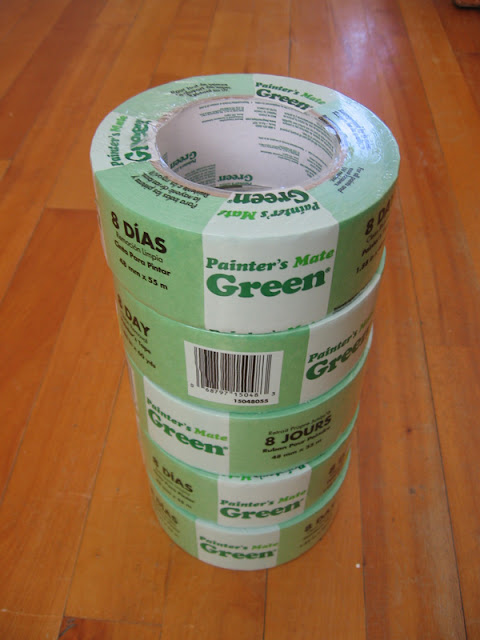
Materials:
- 1 1/2" painters tape (at least 4 rolls depending on how many stripes you are doing)
- 4-foot level, 2-foot level
- pencil/eraser
- measuring tape
- meter stick
- paintable caulking
- caulking gun
- water
- paintbrush / roller / paint tray
- paint (in stripe colour)
- touch up paint (in non-stripe colour)
Step 1: With a measuring tape, I measured the four walls in the room in three different spots per wall (since our house is old and crooked)(in a charming way).
Step 2: Since I got 3 different measurements on almost every wall, I based my stripes on the most common measurement which was 86 5/8".
Step 3: When figuring out the number and width of stripes, I took into consideration that I wanted the walls to have the non-stripe colour at the top as well as the bottom of the wall. I also took into consideration that I wanted big, wide stripes.
Step 4: I divided 86 5/8" by 9 and got a measurement of 9 5/8" per stripe. This worked well since I wanted the stripes to be about 10" wide.
Step 5: I started on the wall that had the most sections measuring 86 5/8".
Step 6: Working from the centre of the wall outwards, I created a perfectly level line (using a 4-foot level) all the way around the room. I made sure to do it very carefully because all of my other lines were based on this first one.
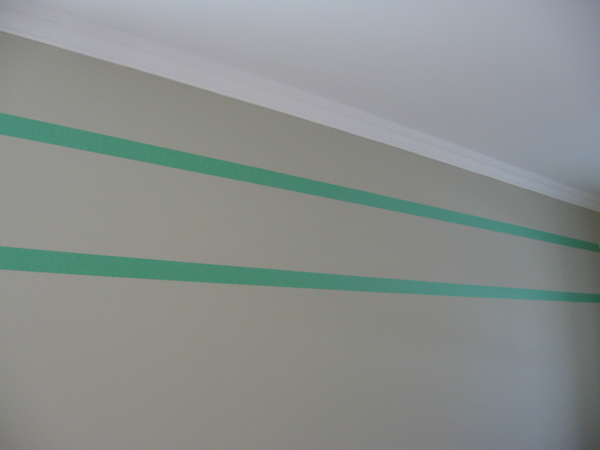
Step 7: Using a meter stick, I went down the wall measuring and marking every 9 5/8" with a small pencil line. I did this about every 2 feet all the way around the room.
Step 8: I placed painter's tape along my marked lines (using a 2-foot level, my arms were getting sore with the big one) every so often to ensure that each line/stripe was still perfectly straight. I made sure to place the tape outside of the area that I wanted to be striped.
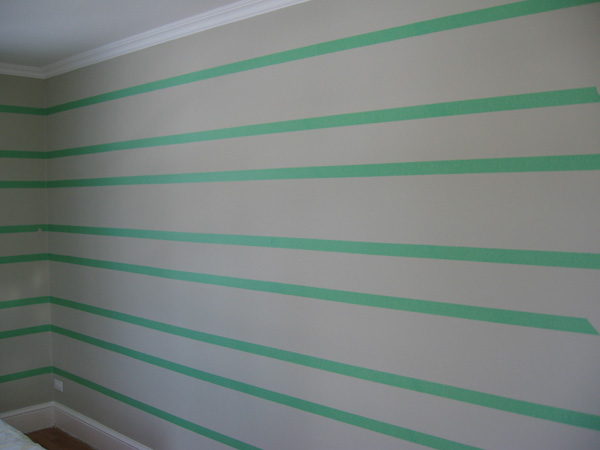
Step 9: Once I was done taping off each stripe, I went back and erased all of my million pencil marks. Since my stripes were a lighter colour, there is no way that I wanted any ugly grey marks showing through.
Step 10: THANK YOU ALEX. I got my husband to mix up a solution of white, paintable caulking and water. Using his index finger, he added a thin line of caulking mixture along every piece of tape that would be next to a stripe. This was to prevent any paint from seeping under the tape line. This was possibly the best idea ever. I had NO touch-ups to the stripes by doing this step.
Step 11: Using a paintbrush and roller, I painted inside the tape lines to create stripes. I made sure to go side-to-side with the roller and tape-to-wall with the brush so that no paint would seep under (extra cautious).
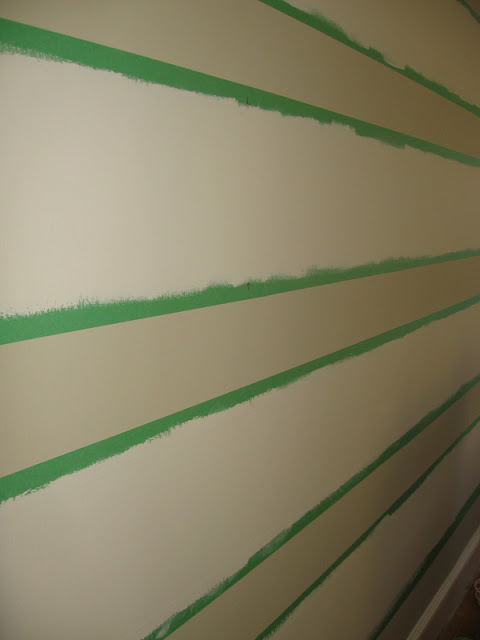
Step 12: I went around the room with a second coat of paint as soon as the first coat of paint was dry to the touch.
Step 13: This was another important step. I peeled the tape off as soon as I was done the second coat while the paint was still wet.
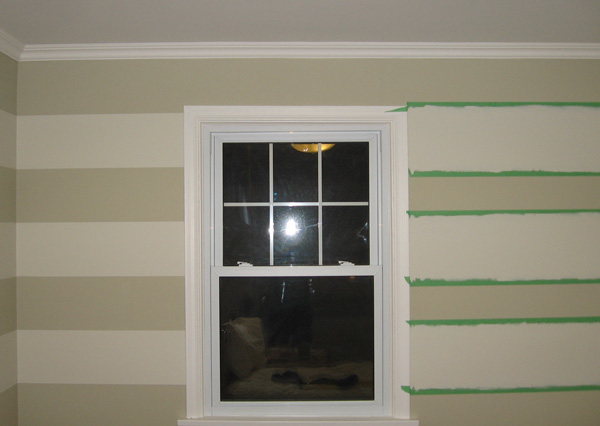
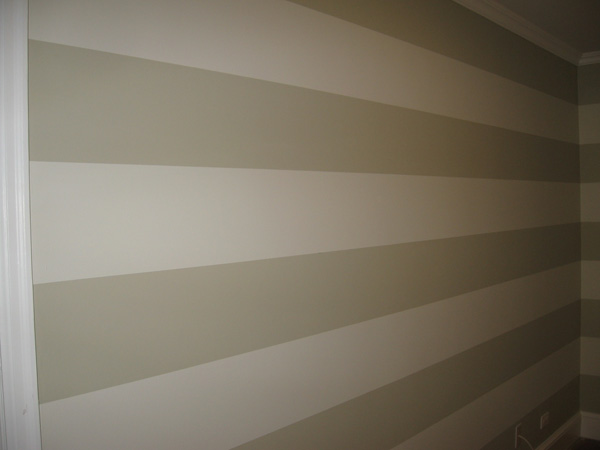
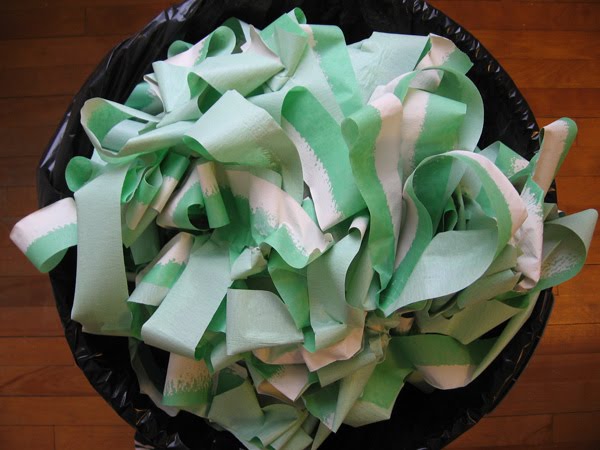
And there you have it. It took 3 days of intense work (well, intense for me who is usually pretty lazy). I only had 3 touch-up spots. One fleck of paint came off in a corner when I was peeling the tape off, I accidentally swiped the roller onto a non-stripe part when I was nearing the end and rushing (no, not me, I would never rush to get done), and a few pencil lines that were covered by tape that I needed to erase afterwards.
Not bad. Not bad at all.
:)


Wow, my kid is not getting strips! They are just going to have to deal with solid coloured walls.
ReplyDeleteIt looks fabulous and I still cant believe you got them so striaght (especially with an older house - nothing in my house is straight either).
Oh, just wanted to thank Alex. I never tape when I paint but if I ever run into a situation when I do I like the caulking idea.
ReplyDeleteGreat work! I am so envious that you only had three touch up spots! Our walls have thick texture and with the California heat even frogger tape didn't prevent bleeding! Thank goodness I'm good at cutting in paint!
ReplyDeletexoxo,
Caitlin @ That House on the Corner
Gorgeous stripes! Now I'm going digging through your blog for more pictures of that room!
ReplyDeleteThanks for visiting my blog and commenting...I really appreciate it!
xoxo, cassie
Giiirrrrlllllll....I have done those stripes before and it is mucho work! They look great!
ReplyDeleteGorgeous! Can you tell me a little more about the paintable caulking in step #10? Did you use a 50/50 mixture of water and the white caulk? What was the consistency of the mixture like? I have been dying to try the stripes, but hate that mine ALWAYS bleed. TFS!
ReplyDelete~Margot
Margot,
ReplyDeleteI would say it was roughly 50/50. It was quite liquidy actually. I just mixed a bit at a time in a tiny little tupperware container. I dipped my finger in the caulking/water and then ran my finger along the seam of the tape and wall. It was a very thin coating. Then I just painted right over top.
If you have any more questions just send me an email at cozycottagecute@hotmail.com.
:) Good luck!
The stripes are darling! I found your blog via Lemonade Makin Mama, but then stuck around for a while when I discovered you're waiting to adopt from Ethiopia. We brought home our own Ethiopian son in 2009. And he's perfect. I love finding other Ethiopian adopters!
ReplyDeleteThis is probably my favorite striped room I've seen. Love it!
ReplyDeleteGreat work! I am so envious that you only had three touch up spots! Our walls have thick texture and with the California heat even frogger tape didn't prevent bleeding! Thank goodness I'm good at cutting in paint!
ReplyDeletexoxo,
Caitlin @ That House on the Corner
I've taken on this project for my girl's room. I picked 2 tones of very light pink from Martha Stewart. It's very hard.. and after looking at the stripes they make me dizzy and they look like they are moving in waves haha. I'll try to post pictures of my finalized project in my blog and link to your so everyone can see where I got the inspiration and guts to do this :)
ReplyDeleteCarla
Is very good, actually found it very beautiful.
ReplyDeleteI am in love with stripes.
I'm from Brazil and your blog is as much, congratulations.
xoxo.
Lola Sciwinzki
For your next wall-striping project, consider getting a laser level. It is a worthly investment.
ReplyDeletevery nice I like shade of colors
ReplyDeleteLoooove me some stripes! I did some in our main bath, and still adore it to this day! Great job! :)
ReplyDeletehttp://retroranchrenovation.blogspot.com/2012/01/labor-of-love.html