


One of the reasons I never really finished decorating the living room was because I was sick of the yellow (and not willing to admit it). The other reason is that our living room layout is really hard to work with.
Like, really tricky.
I drew up a little sketch with some free online program to give you an idea but it's not perfect, obviously.

First, the room is super long and skinny, and second, there are FIVE openings that lead out of the room (four openings/doorways to other rooms and the staircase landing that leads upstairs). That leaves only a few piddly little walls to place furniture on.
The couch can only fit on the long wall under the windows. The loveseat can only fit on the wall between the dining room and the kitchen. Because the couch and loveseat are so awkwardly far from eachother I have to add in the armchair on the tiny wall between the sunroom and front entry to try and make it more of a conversation area.
After all the couches n' stuff the only other wall left is the tiny piece of wall by the stairs where I was able to squeeze a super skinny console cabinet.
Sidenote: I've tried to put the loveseat opposite the couch to create a more "intimate" space but it just doesn't work because the room is so narrow.
So because I feel like being a big complainer today, I thought I'd share some of the issues that this room layout creates and how I plan to hopefully fix them.
Problem #1
The trunk is too small to use for in front of the couch. So I'm on the hunt for a slightly bigger, rectangular coffee table to use instead that will fill up some of the empty space in the room. Sorta like this Pottery Barn one, but all in white if you can picture it.
 |
| Image - Pottery Barn |
Problem #2
There's no room for sidetables on either side of the loveseat. Hence, nowhere for lighting to go and nowhere for drinks to go. I was thinking about adding two wall sconces above the loveseat for some lighting and adding in the Extorp footstool to place a tray (and your drinks) on.
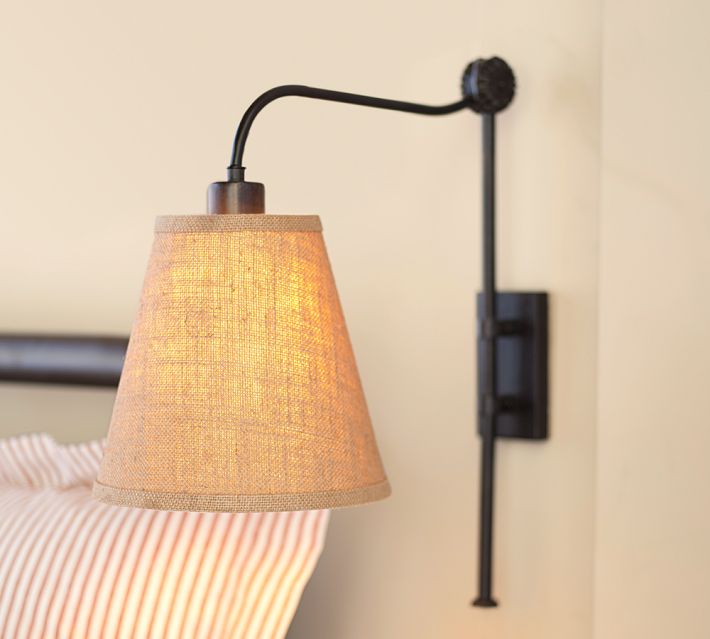 |
| Image - Pottery Barn |
 |
| Image - Ikea |
Problem #3
There's also no room for a sidetable beside the armchair, hence nowhere to put your drinks. I am on the hunt for a teeny tiny round sidetable that's only like, 12 inches wide. I saw one once. Never to be found again.
 |
| Image - Muskoka Living Interiors |
Problem #4
With all of the openings everywhere, the furniture all seems separated. I need a giant rug to tie all the furniture together. I saw a huge, rattan 12x8 rug at Muskoka Living Interiors but it was soooo much money. I still want it though.
 |
| Image - Pottery Barn |
Sooooooooo, those are some of my living room dilemmas. They are eating away at my brain. I need to fix them but it's soooo hard to find what I'm looking for. And when I do find something, it's always sooooo much money.
Le sigh.
Alright, that's enough complaining for one day. On the plus side, the light gray walls are BEE-U-TI-FUL and I'm still so excited about them. One more room left to paint though, so gotta go. :)


