How I Painted Horizontal Stripes and Lived to Tell About It

15

Saturday, February 27, 2010

Here's how I did this little (ahem, not very little) project. Step by step. Just in case it sounds so fun or looks so good that you might want to try it. Ha ha!

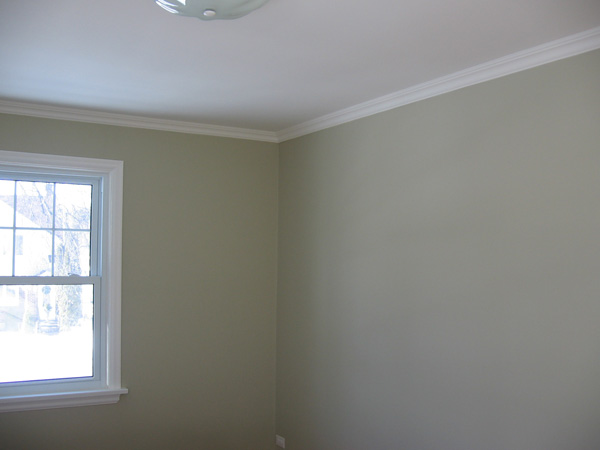
Before I started this project, I had already prepped and painted the room in Camouflage by Benjamin Moore. For the stripes I chose the colour that was slightly lighter on the paint chip thing (Old Prairie).


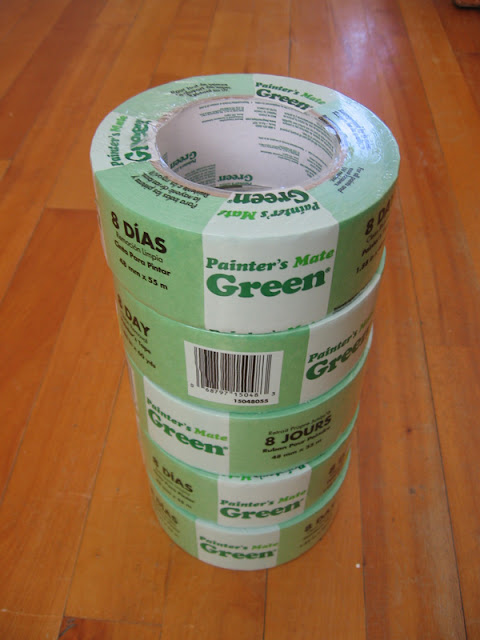
Materials:

- 1 1/2" painters tape (at least 4 rolls depending on how many stripes you are doing)
- 4-foot level, 2-foot level
- pencil/eraser
- measuring tape
- meter stick
- paintable caulking
- caulking gun
- water
- paintbrush / roller / paint tray
- paint (in stripe colour)
- touch up paint (in non-stripe colour)


Step 1: With a measuring tape, I measured the four walls in the room in three different spots per wall (since our house is old and crooked)(in a charming way).

Step 2:
Since I got 3 different measurements on almost every wall, I based my stripes on the most common measurement which was 86 5/8".

Step 3:
When figuring out the number and width of stripes, I took into consideration that I wanted the walls to have the non-stripe colour at the top as well as the bottom of the wall. I also took into consideration that I wanted big, wide stripes.

Step 4:
I divided 86 5/8" by 9 and got a measurement of 9 5/8" per stripe. This worked well since I wanted the stripes to be about 10" wide.

Step 5:
I started on the wall that had the most sections measuring 86 5/8".

Step 6:
Working from the centre of the wall outwards, I created a perfectly level line (using a 4-foot level) all the way around the room. I made sure to do it very carefully because all of my other lines were based on this first one.
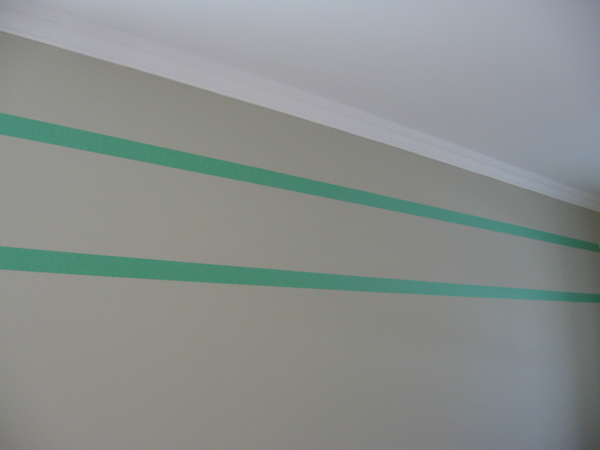


Step 7: Using a meter stick, I went down the wall measuring and marking every 9 5/8" with a small pencil line. I did this about every 2 feet all the way around the room.

Step 8: I placed painter's tape along my marked lines (using a 2-foot level, my arms were getting sore with the big one) every so often to ensure that each line/stripe was still perfectly straight. I made sure to place the tape outside of the area that I wanted to be striped.
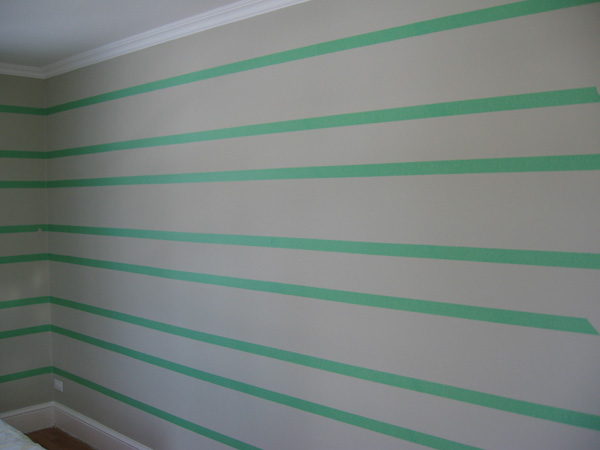


Step 9: Once I was done taping off each stripe, I went back and erased all of my million pencil marks. Since my stripes were a lighter colour, there is no way that I wanted any ugly grey marks showing through.

Step 10: THANK YOU ALEX. I got my husband to mix up a solution of white, paintable caulking and water. Using his index finger, he added a thin line of caulking mixture along every piece of tape that would be next to a stripe. This was to prevent any paint from seeping under the tape line. This was possibly the best idea ever. I had NO touch-ups to the stripes by doing this step.

Step 11: Using a paintbrush and roller, I painted inside the tape lines to create stripes. I made sure to go side-to-side with the roller and tape-to-wall with the brush so that no paint would seep under (extra cautious).
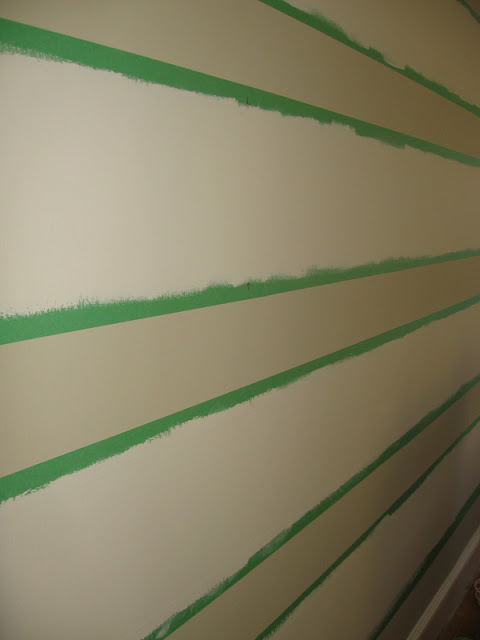


Step 12: I went around the room with a second coat of paint as soon as the first coat of paint was dry to the touch.

Step 13: This was another important step. I peeled the tape off as soon as I was done the second coat while the paint was still wet.
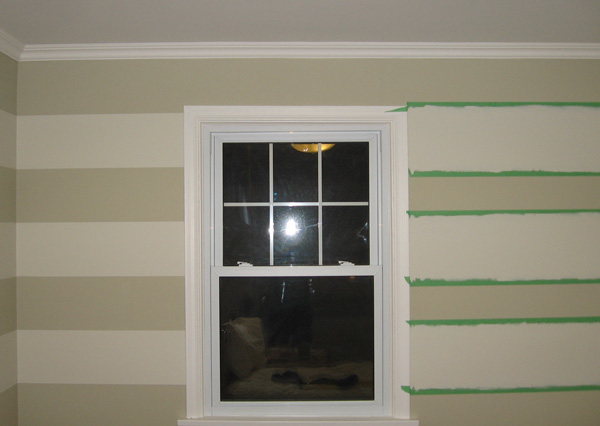
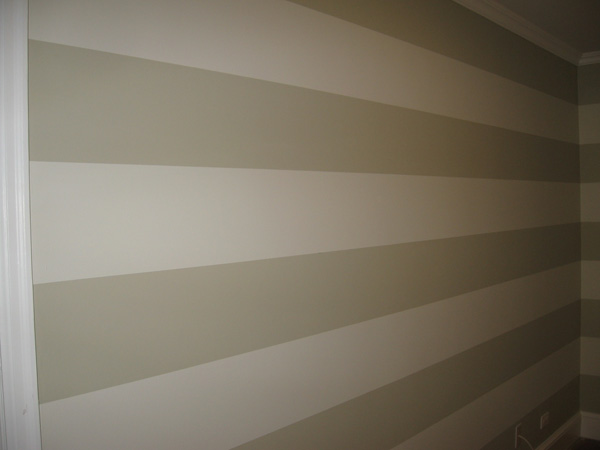
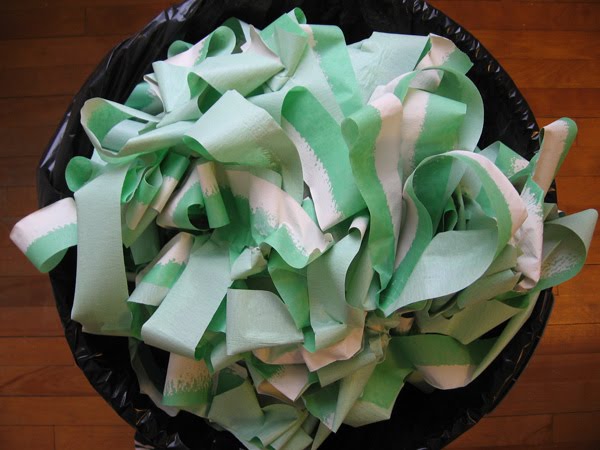


And there you have it. It took 3 days of intense work (well, intense for me who is usually pretty lazy). I only had 3 touch-up spots. One fleck of paint came off in a corner when I was peeling the tape off, I accidentally swiped the roller onto a non-stripe part when I was nearing the end and rushing (no, not me, I would never rush to get done), and a few pencil lines that were covered by tape that I needed to erase afterwards.

Not bad. Not bad at all.

:)

Cottage-y Shops

3

Saturday, February 20, 2010

About twice a year, Alex and I venture out on little road trips to Southern Ontario in search of some cottage-y shops. You see, our city doesn't have any stores like this. Sigh.

Here are a few of our favourite shops that we find ourselves going back to, again and again:
Muskoka Living Interiors
3655 Highway 118 West, RR#2
Port Carling, Ontario


Simply Cottage
68 Manitoba St.
Bracebridge, Ontario


Flik and Company
989 Queen Steet East
Toronto, Ontario


I was just surfing the net and found a new shop that I must visit. Must visit.

It's called City Cottage and is located in Bowmanville, Ontario.

Road trip, anyone???


Brown Sugar Oatmeal Pancakes Recipe

3

Tuesday, February 16, 2010


I always like to add a handful of blueberries, strawberries, or mini-chocolate chips. Or a dash of cinnamon.
Ingredients:
10 tablespoons quick cooking oats
1/2 cup whole wheat flour
1/2 cup all-purpose flour
1/2 teaspoon baking soda
1/2 teaspoon salt
1/3 cup packed brown sugar
1 egg
2 tablespoons vegetable oil
1 cup buttermilk*
* If you don't have buttermilk on hand, pour 1 tbsp of lemon juice or vinegar into a 1 cup measure and add milk until you have 1 cup total liquid. Let stand for 10 minutes.

Directions:
1. In a small bowl, combine the oats, flours, baking soda, salt and sugar.
2. In another small bowl, beat the egg, oil and buttermilk. Stir into dry ingredients just until moistened.
3. Pour batter by 1/3 cupful onto a greased medium-hot griddle. Turn when bubbles form on top; cook until golden brown.

Brown Sugar Oatmeal Pancakes

2

Monday, February 15, 2010


My favourite pancake recipe, ever. Most of the time I eat these right out of the pan - no syrup, nothin'. Usually they are jam-packed with blueberries but on Valentine's Day, mini-chocolate chips will do just fine. I'll post the recipe tomorrow. :)

So Glad to Be Home

3

Monday, February 8, 2010


I was still so glad to be home (from my weekend away) that when I got home from work I made some homemade Chili Con Carne and baked some Mexican Cornbread. It was my first time trying out this cornbread recipe (I found it on the net) and I love, love, loved it. How can you go wrong with a little butter, a little sugar, and a little cheese? Yum.

Absolute Mexican Cornbread

Ingredients

1 cup butter, melted
1 cup white sugar
4 eggs
1 (15 ounce) can cream-style corn
1/2 (4 ounce) can chopped green chile peppers, drained
1/2 cup shredded Monterey Jack cheese
1/2 cup shredded Cheddar cheese
1 cup all-purpose flour
1 cup yellow cornmeal
4 teaspoons baking powder
1/4 teaspoon salt

Directions

1. Preheat oven to 300 degrees F (150 degrees C). Lightly grease a 9x13 inch baking dish.
2. In a large bowl, beat together butter and sugar. Beat in eggs one at a time. Blend in cream corn, chiles, Monterey Jack and Cheddar cheese.
3. In a separate bowl, stir together flour, cornmeal, baking powder and salt. Add flour mixture to corn mixture; stir until smooth. Pour batter into prepared pan.
4. Bake in preheated oven for 1 hour, until a toothpick inserted into center of the pan comes out clean.

Raspberry Buttermilk Bran Muffins - Recipe

3


Raspberry Buttermilk Bran Muffins

Servings: 12
Prep Time: 20 min
Cook Time: 20 min
Ready In: 40 min

Ingredients:
1 1/2 cups wheat bran
1 cup buttermilk*
1/3 cup vegetable oil
1 egg
2/3 cup brown sugar**
1/2 teaspoon vanilla extract
1 cup all-purpose flour
1 teaspoon baking soda
1 teaspoon baking powder
1/4 teaspoon salt
1 cup berries (blueberries/raspberries***/strawberries***)

* If you don't have buttermilk on hand, pour 1 tbsp of lemon juice or vinegar into a 1 cup measure. Add milk until you have 1 cup total liquid. Let stand for 10 minutes.
** Loosely packed
*** Chopped into small pieces

Directions:

1. Preheat oven to 375 degrees F (190 degrees C). Grease muffin cups or line with paper muffin liners.
2. In a large bowl, mix together wheat bran and buttermilk; let stand for 10 minutes.
3. In a small bowl, beat together oil, egg, sugar and vanilla. Add to buttermilk/bran mixture.
4. In a medium bowl, sift together flour, baking soda, baking powder and salt. Stir flour mixture into buttermilk mixture, until just blended.
5. Gently stir in berries and spoon batter into prepared muffin tins.
6. Bake for 15 to 20 minutes, or until a toothpick inserted into the center of a muffin comes out clean.

Strawberry Bran Muffins

1

Sunday, February 7, 2010


Does baking count as being crafty? Mmmhmmm. Crafty in the kitchen.


After a weekend away with the girls, I was homesick. I came home and baked muffins. My all-time favourite muffin recipe. Never fails. Always yummy. Mmmm, eating one right now.

The Winning Doll

3

Thursday, February 4, 2010


Related Posts Plugin for WordPress, Blogger...

Cozy.Cottage.Cute. All rights reserved © Blog Milk Design - Powered by Blogger