


In my last Instagram photo I shared a sneak peek of our new outdoor throw pillows. I'm in love!
 |
| Cozy.Cottage.Cute. on Instagram |
It only took me about two months to work up the courage to sew them. I pretty much thought I forgot how to sew. It took me about three hours to finish the first pillow, and only a half hour to sew the second!
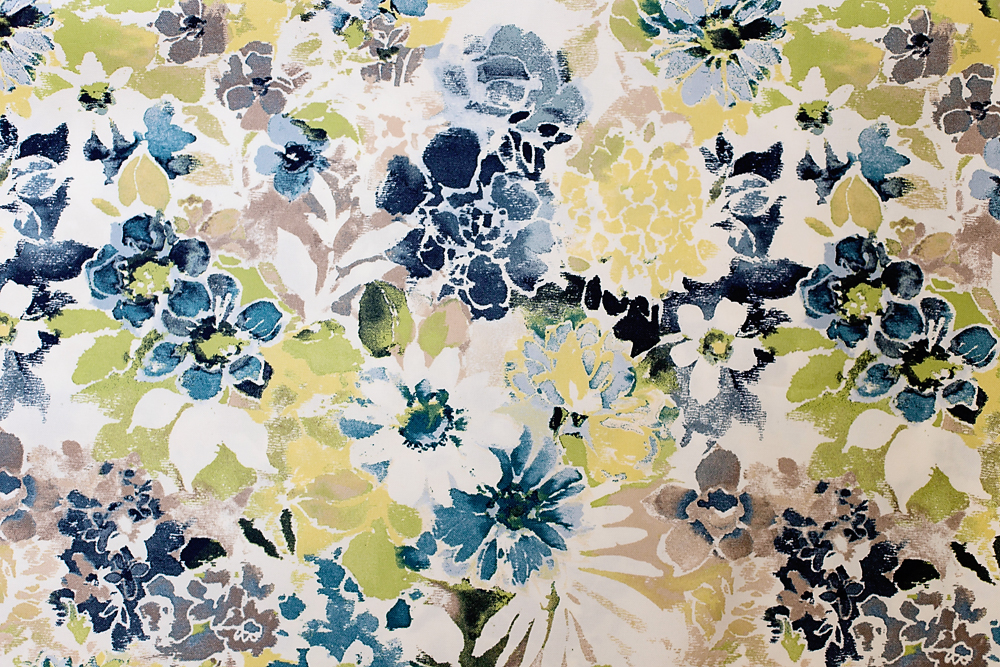
I used some outdoor fabric from Fabricland that I got for a great deal. Since my location is moving, they had some great sales going on all summer. Instead of paying $25 a metre I got the fabric for $11 a metre!
I sewed two square pillow covers to fit 18" pillow forms. I really like the look of pillow covers with seams on each side (rather than the basic one-piece envelope pillow cover) so I basically drew a little sketch and winged it. I realized after I was finished that I used a method similar to this one written by Kate at Centsational Girl. The only major difference was that I sewed in some Velcro at the back to help the pillows stay closed and to help them keep their square shape.
In addition to outdoor throw pillows, I also needed some seat cushions for our lounge furniture. After shopping everywhere I finally decided to go with beautiful (but horribly impractical) cream cushions from Pier One Imports. Hey, you only live once, right?
:)
 |
| Pier One Imports - Cabana Cream |
I needed four chair cushions as well as one settee cushion. I was able to purchase them all during one of their outdoor sales for 20% off. It always makes me feel better when I know I'm saving at least a little bit!
Here's how one little area on our upper deck is looking with some cushions and a few little accessories.


Outdoor Chairs - Lowe's
Outdoor Seat Cushions - Pier One Imports
Floral Cushions - DIY Project (Fabricland)
Navy Cushions - Homesense
Lantern - Homesense
Driftwood Ball - Homesense
Galvanized Planter - Homesense
I'm loving how things are coming together on our deck. I pretty much want to spend all of my time out there now. I just have to keep my eagle eyes on one certain little boy who loves driving his cars in the sand and then, you know, all over my nice clean cushions.
:)
I'm hoping to be back tomorrow to show you the loveseat area (in the above Instagram picture) and to share a little plan for a DIY privacy screen.
Have a great Monday my dears!
Sharing Here:


oooh yes! great choice! love the colors and print!
ReplyDeleteYay! Thanks Cassie! :)
DeleteLooks great! I'm very much the same when it comes to my occasional sewing project-hours of initial prep thinking and rethinking the first stitches, then speed right along once you get in the groove! Love the cream cushions-the sun should help bleach them out too!
ReplyDeleteThanks Erin, your comment made me feel better about my ultra-slow sewing. Lol!
DeleteI really hope the sun bleach thing helps keep those cushions white. I swept off a "leaf" not realizing it was a bug and got bug guts all over one cushion already.
;)
Beautiful space Sarah. I have been putting off doing cushions for similar chairs since June. I have bought and returned about 4 different types of seat cushions to avoid sewing new ones!
ReplyDeleteThanks so much Michelle. I totally get it. I often buy / return so that I can get exactly what I'm looking for. I hope you find the perfect cushions.
DeleteMaybe cream ones from Pier One? Hee hee!
I love your outdoor area. Your fabric choices are lovely!
ReplyDeleteYou are so sweet Brandi! Thank you!!!
DeleteEverything looks beautiful out the Sarah! Your pillows are lovely and I too love the cushions from Pier 1.
ReplyDeletesending hugs...
Sending some right back. :) Thank you.
DeleteSo beautiful!! Thanks for linking up to Inspire Me Monday :) XO
ReplyDeleteI'm flattered. Thanks of course for hosting! :)
DeleteThis is so pretty.
ReplyDeleteDebi @ Adorned From Above
Thanks Debi, I really appreciate your comment. :)
DeleteThat looks so great, Sarah. You rocked those pillows! :)
ReplyDeleteHi there,
ReplyDeleteThanks for the tip on grass recovery. But I have a question on your deck. Is it all pressure treated wood? The rails don't appear the normal pressure treated wood deck design. If so, I like how the balusters are in the center rather than stuck on the outside of the rails.
Yes, it was all pressure-treated wood. Parts of the deck were built at different times so some of the wood has faded more than other parts!
DeleteThanks! I really wanted a clean and simple look for the railing!