 |
| The fun part! |
On Saturday I wrote a post explaining how to make board-and-batten shutters. I purposefully left out the best part (the after photos) so that you'd come back for more.... muhahaha! Well, sort of. We also hadn't completely finished them yet.
 |
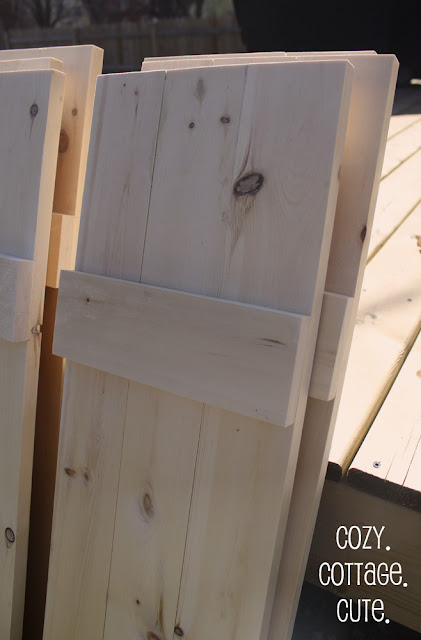
| Shutters before primer and paint. |
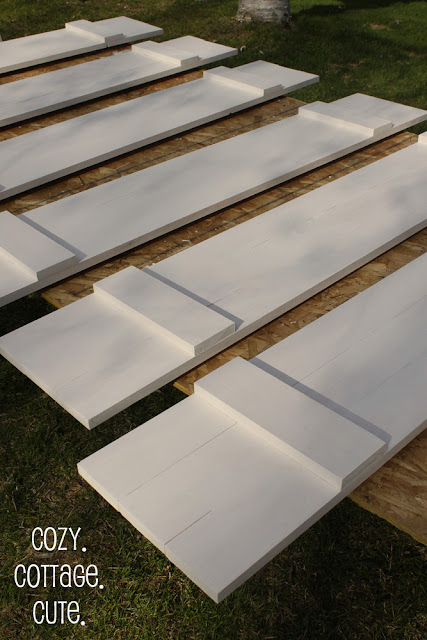
On Saturday we built the shutters, sanded them, and primed them. (For more details about those steps, see the above link.)
 |
| Primed shutters. |
Yesterday we did the fun parts. We painted them, added some decorative hardware, and installed them.
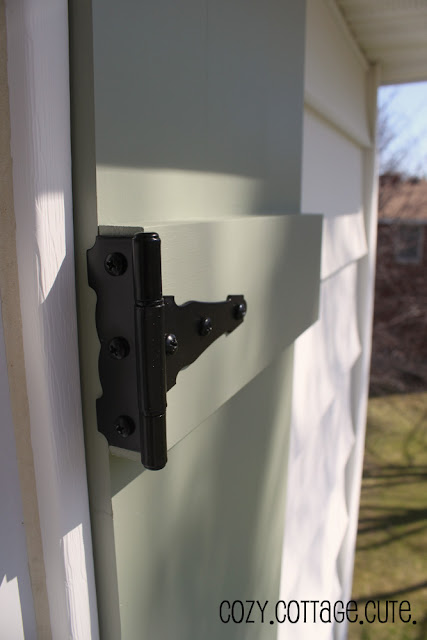
I used two coats of paint using a colour called Nature Lover from Benjamin Moore. I chose a low-lustre finish made for exterior use. Once the paint was drying I drove around town looking for some hardware to add the finishing touch. I found some gate hinges at Lowe's that fit perfectly on the battens. They were quite pricey, but hey, these stinkin' shutters were my birthday present after all. The hinges were $9.99 for a package of two and we needed six packages. :S Oh well, they're cute and that's all that counts.
 |
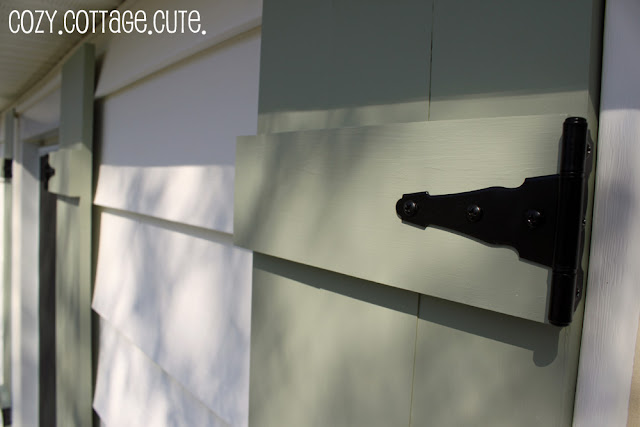
| The hinges are just for decoration. I sure love decorations. |
To install the shutters, Alex had a brilliant idea and used 4" deck screws underneath the hinges so you wouldn't see them. Genius, I tell ya, genius. Oh wait, did I say that was Alex's idea? It was totally mine.
He used big, long 4" deck screws because we were installing them on siding. They had to be long enough to go through the shutter, the siding, some foam, and a little bit of stucco. He pre-drilled some holes on a slight upward angle (to prevent water running in). Then he added a bit of caulking to the hole before screwing the shutters on.
{Note: If we were installing them onto brick, we would have used concrete screws drilled into the brick (not the mortar) on a slight upward angle as well.}
Here's how one set looks installed. The next picture will show you how all three sets look.
And now for the before and after photo. Woohoo! We have shutters!! Finallyyyyyyyyyyyyyyyyyyyyy!
 |
| Click to enlarge! |
Here are a few more photos just because I must have taken a million. Don't forget that the house looks bare at this time of year because I haven't planted any annuals yet and all of the other plants are still waking up!
 |
| We clamped the boards really tight together because we knew that they would shrink over time and leave larger spaces in between each board. |
How about for fun we reminisce about how plain and ugly the house was when we first bought it? Okay. Here is the real before photo:
If you have any questions about anything I might have missed, let me know in an email or comment and I'll get back to you a.s.a.p. :)
Linking To:
Show Off Your Cottage Monday @ The House in the Roses, Metamorphosis Monday @ Between Naps on the Porch, Just Something I Whipped Up @ The Girl Creative, Transformation Thursday @ The Shabby Chic Cottage, Show Off Your Stuff Party @ Fireflies and Jellybeans, Show and Tell Friday @ My Romantic Home, Feature Yourself Friday @ Fingerprints on the Fridge, Flaunt it Friday @ Chic on a Shoestring Decorating


Your shutters look amazing! They really make a big impact on the curb appeal of your home. So well done!
ReplyDeleteSo dreamy! I've just been waiting to have a house that I can put shutters on.
ReplyDeleteWow, they look AMAZING! I LOVE your house! It's so charming : )
ReplyDeleteThe shutters came out great! I love the shade of green you picked too.
ReplyDeleteOh, Wow, I love the new shutters they look fabulous on the house; much better!
ReplyDeleteJodi
Thanks for another fun post and some beautiful pictures. Your house is lovely and those shutters????? to die for:o)
ReplyDeleteCheers,
Carrie
DARLING!!!!!
ReplyDeleteWell worth the time and effort...
Look what you can do after a cup of coffee!
Bravo!
xoxo~Kathy @
Sweet Up-North Mornings...
Wow, what a beautiful difference the shutters make on your house!
ReplyDeleteYAY! Looks so good! I love it!!! I just adore your house and your creativity!
ReplyDeleteYAY! Cheers!
Great job Sarah!
ReplyDeleteTen. Times. Better. Such an adorable house!!
ReplyDeleteWhat a difference! I'd love to add shutters to the front of our house but hubby is taking some convincing.
ReplyDeleteI thinks its a cute house with or without the shutters but the shutters adds to its cute factor.
ReplyDeleteLOVE, LOVE, LOVE!! They look fabulous!! Love the color too!
ReplyDeleteThey turned out great!!! Love the hardware! Your house is really cute!
ReplyDeleteGreat curb appeal. The style and the color are beautiful. Are the deck screws just under the hinges?
ReplyDeleteYou guys did a great job! The really add to the lovely look of your home. I still love that window box even if it's empty right now :)
ReplyDeleteYour shutters turned out soooo good Sarah! What a nice color :)
ReplyDeleteLove them!
ReplyDeleteLove them! I'm pretty sure you have my dream house. Lucky!!
ReplyDeleteThe shutters are great!!! I want to totally do this for my house, it needs it.
ReplyDeleteGreat job to both of you, they look awesome!
ReplyDeleteKim:)
That's a beautiful idea!
ReplyDeleteMore compliments alsoo for your blog:
Bye Bye from Italy
Francy
http://sobeautifulthings.blogspot.com/
Wow...LOVE it!!!
ReplyDeleteIt made a big difference!
looks great ~ what an upgrade! we are in the process of painting our shutters....going from a country blue that the previous owners clearly had a fascination with (in.every.room.) to black!
ReplyDeletei also love your house number above your door ~ super cute!
Wow! What a difference! I love the color you chose. Looks fabulous.
ReplyDeleteLooks Awesome! Great Job!
ReplyDeleteCute, Cute, Cute!!! Great added detail.
ReplyDeleteLove, love , love it!!! and the color is great that you chose too. you are so talented, and have a great helper in you hubby! What would we do without em :)
ReplyDeleteSo awesome! I love the green too! Makes the house a cozy little home :)
ReplyDeleteAren't you just sort of astounded by what a difference shutters make? They look so great, and I ADORE the color. I can't believe you made them! Well done!
ReplyDeleteSO, SO nice, they look great!!
ReplyDeleteThey look so great Sarah! I love the color and they really add to your home. :) I adore that hardware too!! :)
ReplyDeleteGreat work, and excellent step by step instruction! Your house is so cute!
ReplyDeleteGreat job on the shutters - they added such charm and the color is perfect!
ReplyDeleteWhat a difference those shutters make! It "wows" me that you and your hubby are so handy, that you can make your own shutters. Trust me, there's no way that me or my husband could do that!
ReplyDeleteWhat a face-lift your great shutters made! I'm putting your shutters in the PoPP Spotlight. Thanks for linking up!
ReplyDeleteThose shutters are awesome! I love the color you picked. Super cute!
ReplyDeletethese look so great!!!! i love how you have made it your home!
ReplyDeleteLove Love Love!!!!
ReplyDeleteI would have made the shutters only the size of the window panes, not the entire window frame. They look too tall for your windows.
ReplyDeleteThanks for your feedback!
DeleteI suppose it's just personal preference. I like how they line up with the window casing to create nice straight lines.
But, I do see your point. :)
Hey Sarah:
ReplyDeleteI sent you another email! Deirdre @ Houselogic
I replied to the first email you sent but didn't get another one?
DeleteNot sure if it possibly went to junk mail?
Let me know.
Sarah :)
Do your shutters close over the window. We live in Florida and are making shutters to also serve as hurricane window covers. The design is quite similar to yours. Can't wait till ours is done. Yours look awesome on the house, what a facelift!
ReplyDeleteNo, the shutters don't close over the windows - they are purely decorative! However if we had real hinges and they were a bit wider, we could have made them functional.
DeleteGood luck with yours, I'm sure they will be awesome!
AMAZING! Great work. Thanks for posting. I'm going to ask for these for MY birthday!!!!
ReplyDeleteGreat looking shutters. For anyone not wanting to build their own shutters, come see http://www.shutterland.net.
ReplyDeleteYou will find louvered, raised panel, and board and batten shutters.
They look lovely. Why not paint your front door the same color?
ReplyDeleteI would like to know how they have held up?
ReplyDeleteThey look great!
Thank you so much! I haven't seen them up close since they are on the 2nd story but from the yard / driveway / street they look exactly the same as when we installed them! Woot woot! :)
DeleteLove the shutters! Great idea!! Where did you get the black hardware ?- really makes your shutters unique!! One of a kind. Thanks so much for the tutorial.
ReplyDeleteWhere did he drill the 4'' decking screws into? under where the decorative hinges are? Then you installed the hinges later?
ReplyDeleteYes, the decking screws are under the hinges. He just placed the hinges over top since they were only decorative. :)
Delete