I Really Want a Dutch Door In A Really Whiny Voice

32

Monday, February 28, 2011

Yup. It's true. I have whiny conversations with myself all the time about the need to someday have a dutch door. Mostly when I'm surfing the internet for cute things and avoiding going to bed at a decent hour.

Can't you just picture it?

Me calling Roary in from chewing an extra crunchy stick. Me baking a blueberry lemon pumpkin rhubarb (oh the possibilities are endless) pie and letting it rest on the ledge to cool. Me standing inside the doorway with a warm breeze blowing my hair around like in a fancy hair commercial.

I'm pretty sure that a dutch door would greatly improve our quality of life.

On our main floor, there are three possible spots for a dreamy dutch door. Maybe I'll take some pics and ask your opinion sometime. That would be fun.

For now, my inspiration:

1) Image: House Obsession
 
2) Image: Unknown

3) Image: Coastal Living

4) Image: Apartment Therapy

5) Image: Country Home

6) Image: Coastal Living

7) Image: Coastal Living

8) Image: Old House Journal

9) Image: Unknown

10) Image: Debra Campbell Designs

Which photo is your favourite?

Best Oatmeal Cookies Ever and a Pretty Stand

21

Sunday, February 27, 2011


Oh hello. I've missed you. I've sorta been in limbo all weekend.

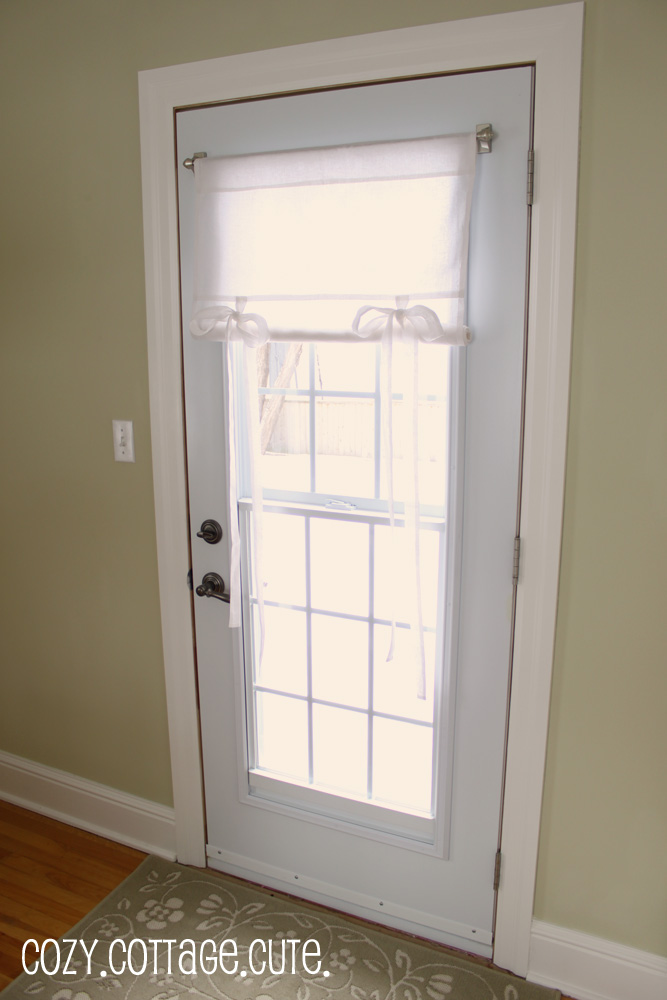
This is what keeps going through my head....... should I pack for our trip, organize the house for our house/dog sitters, go shopping, bake something yummy, cook a homemade meal (I've been slacking in that department), go grocery shopping, read my book, work on my window project, catch up on blog reading, clean, or do work for school. Oh, but how do you choose.

Yesterday we decided to do a bit of shopping. I didn't find anything for the house but I did find a cute embroidered skirt and a ruffly beach cover-up for the trip. I won't go into details about the worst shopping experience ever: trying on bathing suits after a winter of baking treats and then eating them all. :S

I did wipe the sawdust (basement reno) off of my elliptical machine a few nights before I went to look for a bathing suit. I had to workout like a hunchback since Alex moved the machine into the furnace room with the lowest ceiling of all time. My head only hit a pipe (probably with asbestos on it) twice. I thought a solid 20-minute hunched over workout would get rid of, you know, the jiggly bits. I guess you have to go on more than once for that to happen. Doh.

Anyway, I made the best oatmeal cookies of all time that you must try.


Oatmeal Cookie Kings

(With a few little tweaks)

Ingredients

1 1/2 cups all-purpose flour
1 teaspoon salt (I use a bit less)
1 teaspoon baking soda
1/2 cup butter*
1/2 cup shortening*
1 cup granulated sugar
1 cup brown sugar, packed
1 1/2 teaspoons vanilla crush (I use 1 teaspoon of vanilla)
2 large eggs
3 cups quick-cooking oats**
3/4 cup nuts, dried cranberries, or apples
(I add 1/2 cup semi-sweet chocolate chips OR 1/2 cup coconut)

*You may use 1 cup (2 sticks) of butter rather than 1 stick of butter and 1/2 cup shortening, if you prefer.
** The texture changes completely if you substitute old-fashioned (or thick oats) for quick-cooking oats.
 
Directions
 
In a medium-sized bowl, sift together the flour, salt and baking soda. In a separate bowl, cream together the butter, shortening, sugars and vanilla(s). Beat in the eggs, then the flour mixture. Add the oatmeal, nuts, and fruit, if using, and mix well.

Drop the dough by teaspoonfuls onto an ungreased cookie sheet, and bake the cookies in a preheated 375°F oven for 10 to 12 minutes, until they're a very light golden brown around the edges. Remove them from the oven, and cool them on a rack.

Makes: 3 1/2 dozen cookies


The little stand is from a local shop. It was a bit expensive but I  saved up all the loonies and toonies from in the couch and in the laundry machines and in Alex's pockets so that I could finally get it. It makes cookies look pretty.

P.S. How's your weekend going? Hope you didn't have to try on any bathing suits. ;)

More Cushions and a Need-Your-Help Dilemma

32

Thursday, February 24, 2011


'Member how I got this striped fabric to make some cushion covers? Well I got the fabric for a steal at $4 per meter at Fabricland. I was able to make five cushions with two meters (and I still have a bit left over). Since I had the pillow forms already, the project cost me about $1.60 per pillow. Sweet.

Now that I have five cushions I can spread them out on the couch, loveseat, and chair in the living room. One day but probably never I might find some other cushions that will go with these ones. They don't have to be totally matchy matchy but similar colour tones would be kinda nice. I'll keep dreaming about that.

Oh new cushions, you're my favourite. Except the flat one (far left).

I went back to Fabricland to see if the fabric is still on sale. You see, I've still gotta recover the four chairs in the breakfast room and whaddaya know the green stripes go very nicely with the newly painted green walls. I think the same fabric would look really cute as seat covers, however I don't want the same fabric everywhere. Dilemmas, dilemmas.

My other dilemma is this little spot in the living room. We've got a small wall between the kitchen doorway and the dining room doorway. It's big enough for a loveseat but not really much else. I love the picture hanging above the loveseat but the two by themselves (loveseat + picture) make the spot seem really lost (to me, anyway).

I have a floor lamp on one side for now but I need to figure out what to do for the long term.


I've been kicking around a few ideas:

1. Double floor lamps flanking the loveseat kinda like these pictures:


2. Hardwired lights/sconces kind of like these pictures:


3. Skinny benches on either side of the loveseat kind of like this picture:


4. Insert your brilliant idea here: _________________________________________________.


Each option has it's cons. Except yours 'cause you're smart like that.

Double lamps might look kind of squishy, Alex would have to add wiring to the wall for wall sconces, and benches would be really low. My mom and aunt both think all of those options would make the spot too busy. But to me the spot looks too empty.

I'd love to hear your thoughts. What do you think?

A Pretty Yellow Tray and Some Pink Flowers

26

Monday, February 21, 2011


A few months ago I picked up a little yellow tray at Simply Cottage in Bracebridge, Ontario. I thought it would look perfect on the antique trunk (that I still want to paint) in the living room. It was less than $20, too. Sold. 


I'm not sure what's going on with the tray thing. A few months ago I used to have one tray. All of a sudden I have five! Is it just me or does every surface look better with a tray and a few trinkets on it???


Along with trays, I'm really digging pink right now. Just a bit of it. Alex surprised me with a pretty bouquet of flowers on Friday so I took a few out and placed them in some different sized glass jars. 


I'm having a bit of a tear that the long weekend is coming to an end. But we've still got big plans for the rest of the night. Breakfast for supper (mmmm, bacon) and a few episodes of Modern Family (my new favourite show).


Don't tell anyone but it's 6:00 p.m. and I'm still in my pajamas. Awesome.


P.S. I had a little photoshoot with my camera and these flowers today. I got a few good shots even though the sun was going down and it was getting shadowy. It helps when you take 150 pictures and pick the best six. Heh heh heh......

Show Off Your Cottage Monday @ A House in the Roses
Nifty Thrifty Tuesdays @ Coastal Charm
Good Life Wednesdays @ A Beach Cottage

Breakfast Room Progress - A Door, A Curtain, and a Light Fixture

16

Sunday, February 20, 2011

We've made a wee bit of progress on our breakfast room at the back of the house. Small progress is better than no progress, right?

First up, a door.

When we first bought the house and moved in one of the first projects we did was build a fence in the backyard so Roary could hang out without running away. (Bad dog.)


The problem was that our house didn't have a back door. Just a lousy side door that led into the driveway. Everytime we wanted to let Roary out we would have to put our shoes / coats on and lead him by the collar into the backyard. It was super, duper annoying. Plus, we have a shared driveway with our neighbours. They have seen me way too many times in less-than-flattering (okay, hideous) get-ups while letting the dog out. 

So we decided to put a door in the back of the house. In the breakfast room. This project was terrifying. Alex rented a diamond-bladed (???) chainsaw and chopped a hole in the side of the house. (See video at the end of this post.)

Even though I would have loved a door with tonnes of charm and character (my dream was to have a wooden, dutch door) our freezing cold winters and piles of snow would make one kind of impractical. We went with a single, steel, french door that matched the windows which would eventually lead out onto the deck.

Please disregard the junk and out-of-control bushes that are all over the yard.
What can I say? Our house is a permanent construction zone.

Please disregard the sad, sad state of our yard.
Again, we live in a permanent construction zone.

Everyone in my family tried to convince me to put double french doors leading out onto the deck but the room is so, so tiny (with two large windows already) that double doors would have left virtually no wall space for furniture placement in the future. The breakfast room could eventually become an office, a playroom, a t.v. room, or a mudroom. 


The trim around the door has finally been painted. If you look closely, though, you'll see that we still have to paint the inside of the door jamb. We'll have to wait until the weather is warm and we can leave the door open while the paint dries.


There was a closet in the room already so we though it made sense to install the door right next to it. We chose a custom "painted white finish" for the door. We didn't realize the colour would be such a stark white. But, what can you do?


When I ordered the tie-up shades for the sunroom (from Pottery Barn) I also ordered a tiny one for the door (hee hee). This is our seventh one so I think I'll stop with the tie-up shades for now. I bought a cheap, magnetic curtain rod and it just stuck to the door. Easy, peasy. 


The curtain just softens the door up a bit. Love. It.

In other news, remember the $39 pendant light that I bought for the room that I liked, but didn't love?

Please disregard the table and chair set which still needs to be painted and recovered.
Well we both had decided that we would keep it there until we found a pendant light that we really loved. Then we would just swap it out and use the white one downstairs in the basement bedroom or laundry room.

Yesterday we stopped into our local lighting store to look at pot lights for the basement reno. Hanging right above the counter was this adorable light fixture:


The picture doesn't do it justice. It is ca-ute. It was even on sale!!!!! We went ahead and ordered it and should expect it in 3-4 weeks. Woohoo!

 ------------------------------------------------------------------------------------------------------------

Here is a clip of Alex and his best bud knocking the hole in the side of the house. If swearing offends you, don't watch this!! ;)

video

I am so glad that I was not home when they were doing this!!

When Your Hubby Destroys Your Finished Basement....

14

Thursday, February 17, 2011

Do you:

a) cry
b) kick him to the curb
c) go on a massive shopping spree to make yourself feel better
d) start googling board and batten wainscotting, vintage light fixtures, and cozy, white sectionals

Let me rewind here for a minute and explain how all of this happened. 

We currently have four major renovations/projects left to tackle on the first and second levels: the deck, the floor refinishing, the main bathroom, and the kitchen. We still have many rooms that need a million some finishing touches (rugs, side tables, curtains, pictures, etc.) but that's another story for another day.

When we moved in, our basement recroom was "finished". It had new drywall, new doors, new trim, and new carpeting. Granted, it was all pretty ugly. But, we threw our old Ikea apartment furniture and big t.v. down there and left it pretty much as is. We had far in the future plans to paint the walls, add white wainscotting, change out / paint the doors, etc., etc., etc.

Ugly trim n' stuff.
But at least there was a ceiling.

Boring paint colour.
But at least there were walls.

Mishmash of furniture.
But at least there was a new, clean carpet.

On his last day of Christmas holidays, Alex told me he was going to start demolishing the kitchen. Um, what!?!?!?! With no plan? No budget? No internet surfing and googling for 6 months beforehand?

I told him I didn't think it was a good idea, yet. So he went downstairs to "insulate the laundry room". Little did I know that "insulating the laundry room" would lead to him destroying the whole basement.


My little friend Mike Holmes found out that the "finished" walls only had R-something insulation when they're supposed to be R-something else. He also found some mysterious wires leading to the "finished" ceiling.

So, I guess we're doing a big basement renovation now? Yay?
Related Posts Plugin for WordPress, Blogger...

Cozy.Cottage.Cute. All rights reserved © Blog Milk Design - Powered by Blogger